How To Downgrade From Windows 8 To Windows 7

Stepping Back To Windows 7
Since you're reading this, you're probably thinking about -- or have decided to -- downgrade from Windows 8 to Windows 7. Your motivations might be similar to the 12 reasons IT will hate Windows 8 that we reported way back in September 2011, or perhaps more akin to the five things to love and hate about Windows 8 that we identified last fall. Even if you've had mixed feelings about Windows 8, the journey back to Windows 7 is not particularly challenging, and a few simple steps will all but guarantee a successful downgrade with all your data intact.
Before you take the plunge, it's important to note that Microsoft asserts that it's not obligated to support downgraded systems. Now that you know that you might be on your own afterward, let's dive in.
Read the rest of CRN's special report on why some VARs aren't selling Windows 8, but rather replacing it.

Prep Step: Windows EULA
There's one more thing you'll need to understand: Microsoft's end user license agreement as it relates to Windows 8 downgrade rights. In essence, downgrades are permitted only from Windows 8 Pro. If you bought plain-old Windows 8, you'll have to purchase a new license for the Windows 7 version you want. What's more, Windows 8 Pro can't be downgraded to anything other than Windows 7 Professional or Windows Vista Business. We think most people will opt for the former, so our instructions act accordingly. Also note that with the exception of the Windows 7 key acquisition (which in itself is not trivial), the steps for downgrading from Windows 8 Pro and non-Pro are identical.
For the enterprise, OEMs and other volume license (VL) customers, Microsoft permits downgrades to be performed on multiple machines from a single downgrade medium, be it a full retail package or system builder DVD. VL holders also are authorized to distribute media and keys to clients so they can downgrade their own systems.

Step 1: Get A Preconfigured Disc
Some major PC makers maintain a database describing the configuration of every PC they've ever sold, mainly to benefit their support departments. Some also maintain preconfigured disc images for all compatible operating systems that contain exactly the right drivers for each system. So if yours is a name-brand system, there's a pretty good chance there's a preconfigured disc image out there that's made just for it. The trick will be getting your hands on it.
To start, contact your PC maker's support department to find out if such a disc exists for Windows 7. If so, order the disc or download the ISO image and burn it to a disc. This will be the fastest and easiest route to downgrading from Windows 8. With such a disc in hand, you can skip the driver collection process in Step 2 and go directly to Step 3, Data Backup. If only a generic Windows 7 installer disc is available, click next to proceed to driver collection.
Step 2: List Components, Get Drivers
You've contacted your PC maker for a Windows 7 installation disc or list of components specific to your machine and come up empty. The next step is to create one. This needs to happen before the Win8 bits are wiped from the target system.
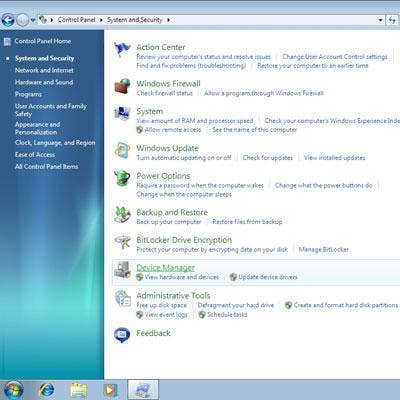
Open the Device Manager by pressing the Windows and X keys together and selecting Device Manager from the list. Expand each device until there's a list of all the components. Unfortunately, Windows offers no command for directly printing from Device Manager, so you'll have to write them down or print screenshots. Be sure to note manufacturer and model numbers for the three most critical components: display adapter, network adapter and pointing device (if other than an ordinary mouse).
Visit the support pages for each component and download drivers for the desired OS and store them on a USB drive or CD. Do not burn them to the Windows 7 CD and do not leave them on the system hard drive .
Step 3: List Apps, Back Up Data
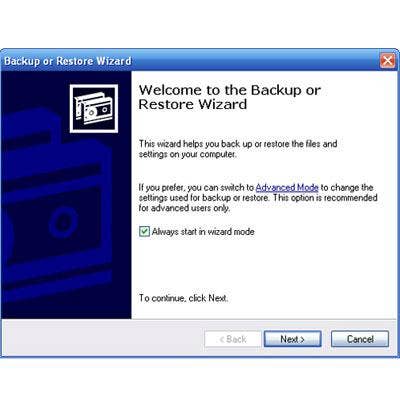
Migrating from Windows 8 to Windows 7 is destructive; the Windows 8 hard drive is erased and reformatted in the process. While most people will remember to back up critical data, apps and drivers that aren't part of the Windows installation will have to be reinstalled. The list of non-Windows apps will likely be short since Windows 8 has only been out for a few months. Still, making a note of your most important apps will save some time later on. Also, you'll need to say goodbye to any apps acquired from the Windows Store; these so-called Metro apps won't run anywhere else. Use Windows Backup or another utility to copy personal data to USB, CD, DVD or the cloud. Don't forget to include local mail folders.
Step 4: Boot The Windows 7 Installer
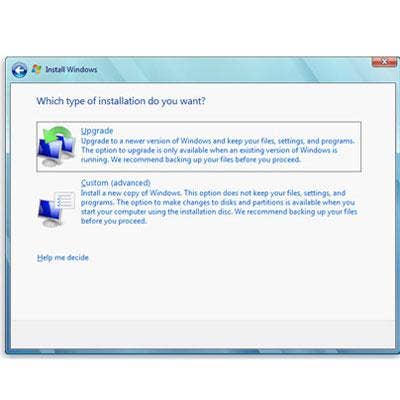
With the backup complete, you're ready to reboot from the Windows 7 installer disc. Keep an eye out as it boots; you might have to "press any key" to boot from the optical disc drive. If you're moving from Windows 8 Pro to Windows 7 Professional you won't need a new license key, but you will have to call Microsoft to obtain a single-use activation code after Windows 7 is installed. If you're downgrading from something other than Windows 8 Pro to something other than Windows 7 Professional or Windows Vista Business, enter the license key when prompted by the installer, or hit NEXT to activate Windows later.
According to Microsoft's Windows 8 downgrade rights page, attempting to activate Windows 7 online will bring up a local Activation Support phone number. Call the number, explain the circumstances, and the agent will provide an activation code.
NOTE: On some machines it might be necessary to enter the BIOS and enable the appropriate device for booting to the Windows 7 disc image.
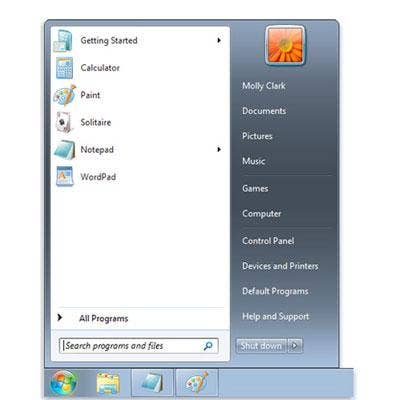
Step 5: Welcome To Windows 7
The Windows 7 installer will prompt for user locale and other data, as well as selection and formatting of the target hard drive. Continue to follow additional prompts and enter selections as necessary. The system will reboot one or more times during this process and more often than not will result in a successful Windows 7 installation. Once the operating system boots, install all required display, networking and other critical drivers from the USB or CD created in Step 2. Restart as needed. Then restore personal data and skip to Step Done.