CRN Test Center: How To Set Up A Raspberry Pi
Internet Of Things
From smartphone apps to embedded devices, everyone these days has the chance to get involved with the Internet of Things. For building device prototypes, it doesn't get much easier than with Raspberry Pi, the ARM-based development board that can be purchased for as little as $25. Available from the U.K.-based Raspberry Pi Foundation, Raspberry Pi is a single board computer around which the Linux community has rallied like few others. The CRN Test Center spent a few hours setting one up, and we wanted to share the experience.

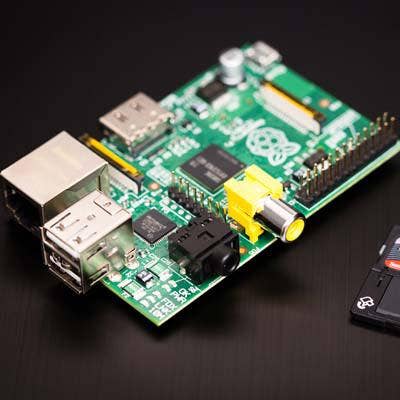
Pi Model B
The Model B has been available since February 2012 and is the foundation's best-seller. It's built around the Broadcom BCM2835 SoC, a low-power ARM processor that's optimized for multimedia performance. The chip contains Broadcom's VideoCore IV GPU, which can deliver Blu-ray-quality playback and 3-D graphics through OpenGL ES2.0 and OpenVG.
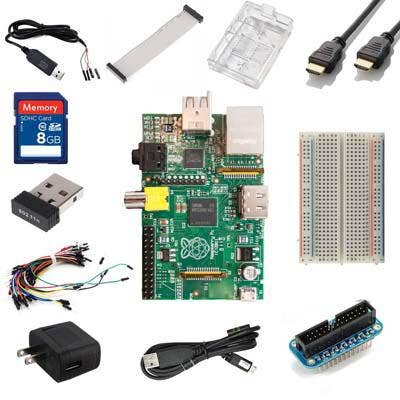
The Ultimate Kit
If the plan is to develop a prototype, the shopping list should include a few components beyond just the Pi board. To save time, we opted for the Ultimate Starter Kit, a $75 bundle that includes a Model B board and 512-KB RAM and power supply, a pre-tested Wi-Fi USB dongle, USB breakout cable, a "breadboard" for accessing the card's general-purpose IO header, and an 8-GB SD card with the "NOOBS" Linux selector program pre-installed. This part alone made the kit worth the added price. Find out why next.
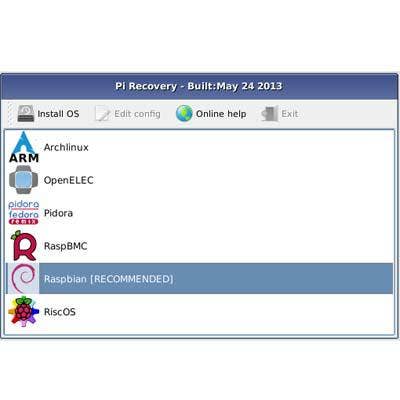
We Were All NOOBS Once
NOOBS is a clever acronym meaning "New Out Of Box Software," and it's the single most important component for quickly bringing up the Raspberry Pi. For the newbie, just getting a bootable image on an SD card could require hours of learning through trial and error. Not only does NOOBS boot right out of the box, it presents a menu of specialized Linux versions tailored for specific applications of the board. Selecting any one of these will reformat the SD card and set it up to boot from that version from then on.
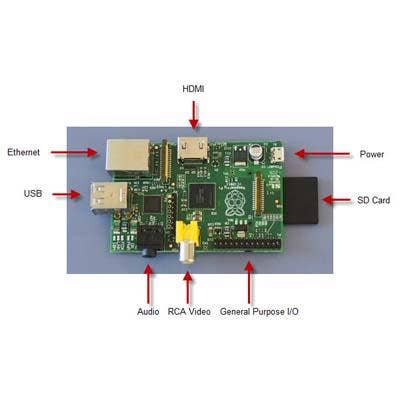
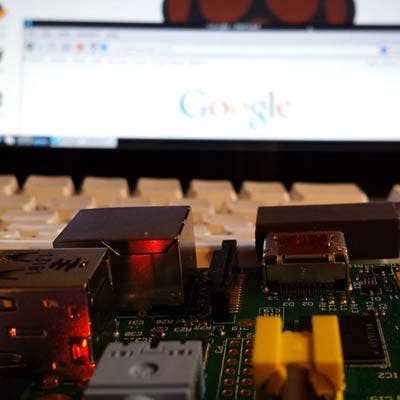
Make The Connections
But we're getting ahead of ourselves. The first thing to do is connect the Pi to a monitor (preferably using the HDMI port, but the composite connector works too). We used the GeChic OnLap 1301, which gets its power from a USB port (we supplied a separate power supply). Next insert the SD card, Wi-Fi dongle, keyboard and mouse. We were able to get by using just the Pi's two USB connectors because our keyboard also supplies a USB hub with two ports. Add a hub if needed. Connect the power last, and then plug in the adapter.
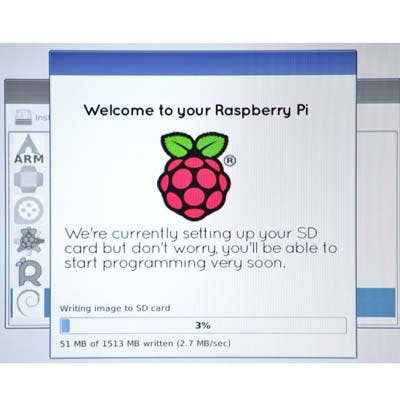
Install Linux
Since we were setting up with no specific application in mind, we installed the "recommended" Raspian Linux, a version of Debian for Pi. Other distributions also will boot on the Pi, and cater to media capture, playback or small-footprint applications. Don't worry about making the wrong choice; the NOOBS image and all of its distros are at the NOOBS download page. Install with these directions or by using ApplePi-Baker for Mac. The entire installation process takes about 20 minutes, after which the board booted into a configurator tool, covered next.
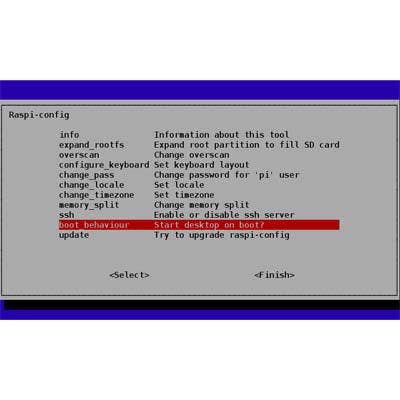
Raspian Settings
When the Raspian configuration menu comes up after first boot, it's a good idea to check that everything's set according to plan. The default settings are mostly good, but we confirmed that we'd be booting into the GUI, changed the default password, set our time zone and other locale settings, and enabled SSH for remote access from a laptop. Options to skip at first include overscan (unless there's monitor trouble), memory split (between CPU and GPU) and overclock. It's also a good idea to expand the root file system (rootfs), but NOOBS may already have done that.
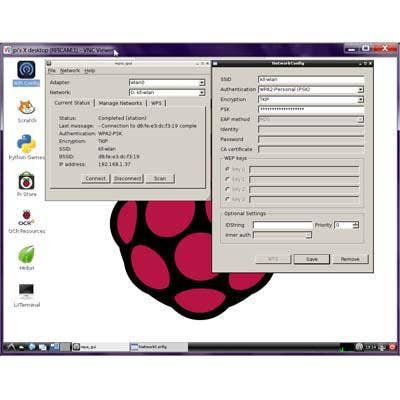
Connect To Wi-Fi, Update OS
Next we activated Wi-Fi and connecedt to the Internet. After booting into the Raspian Linux GUI (or typing "startx" from the command line), open the "WiFi Config" tool and enter the Wi-Fi's SSID and other info in the Network Config dialog. Once connected, open a terminal window by clicking in the lower left-hand corner of the screen (where Windows' Start menu would be) and run "Terminal" from the "Other" menu. First run "sudo apt-get install rpi-update" to make sure the "rpi-update" command is available. Then run "sudo rpi-update" to perform the update. After that, Raspberry Pi is ready to be your development platform.
Next Steps
Installing apps on Raspian is done like Debian and other Linux distros. If Java is part of the plan, we recommend a great tutorial by Oracle's Bill Courington and Gary Collins that describes how to run Java SE on Raspberry Pi in less than an hour. There are tons of additional Pi resources, including the Raspberry.org FAQ page, eLinux.org's Pi for Beginners and the Pi Hut's Quick Start Guide. When done for the day, avoid file corruption by shutting down Pi using the "sudo shutdown -h now" command.